Loading component...
Loading component...
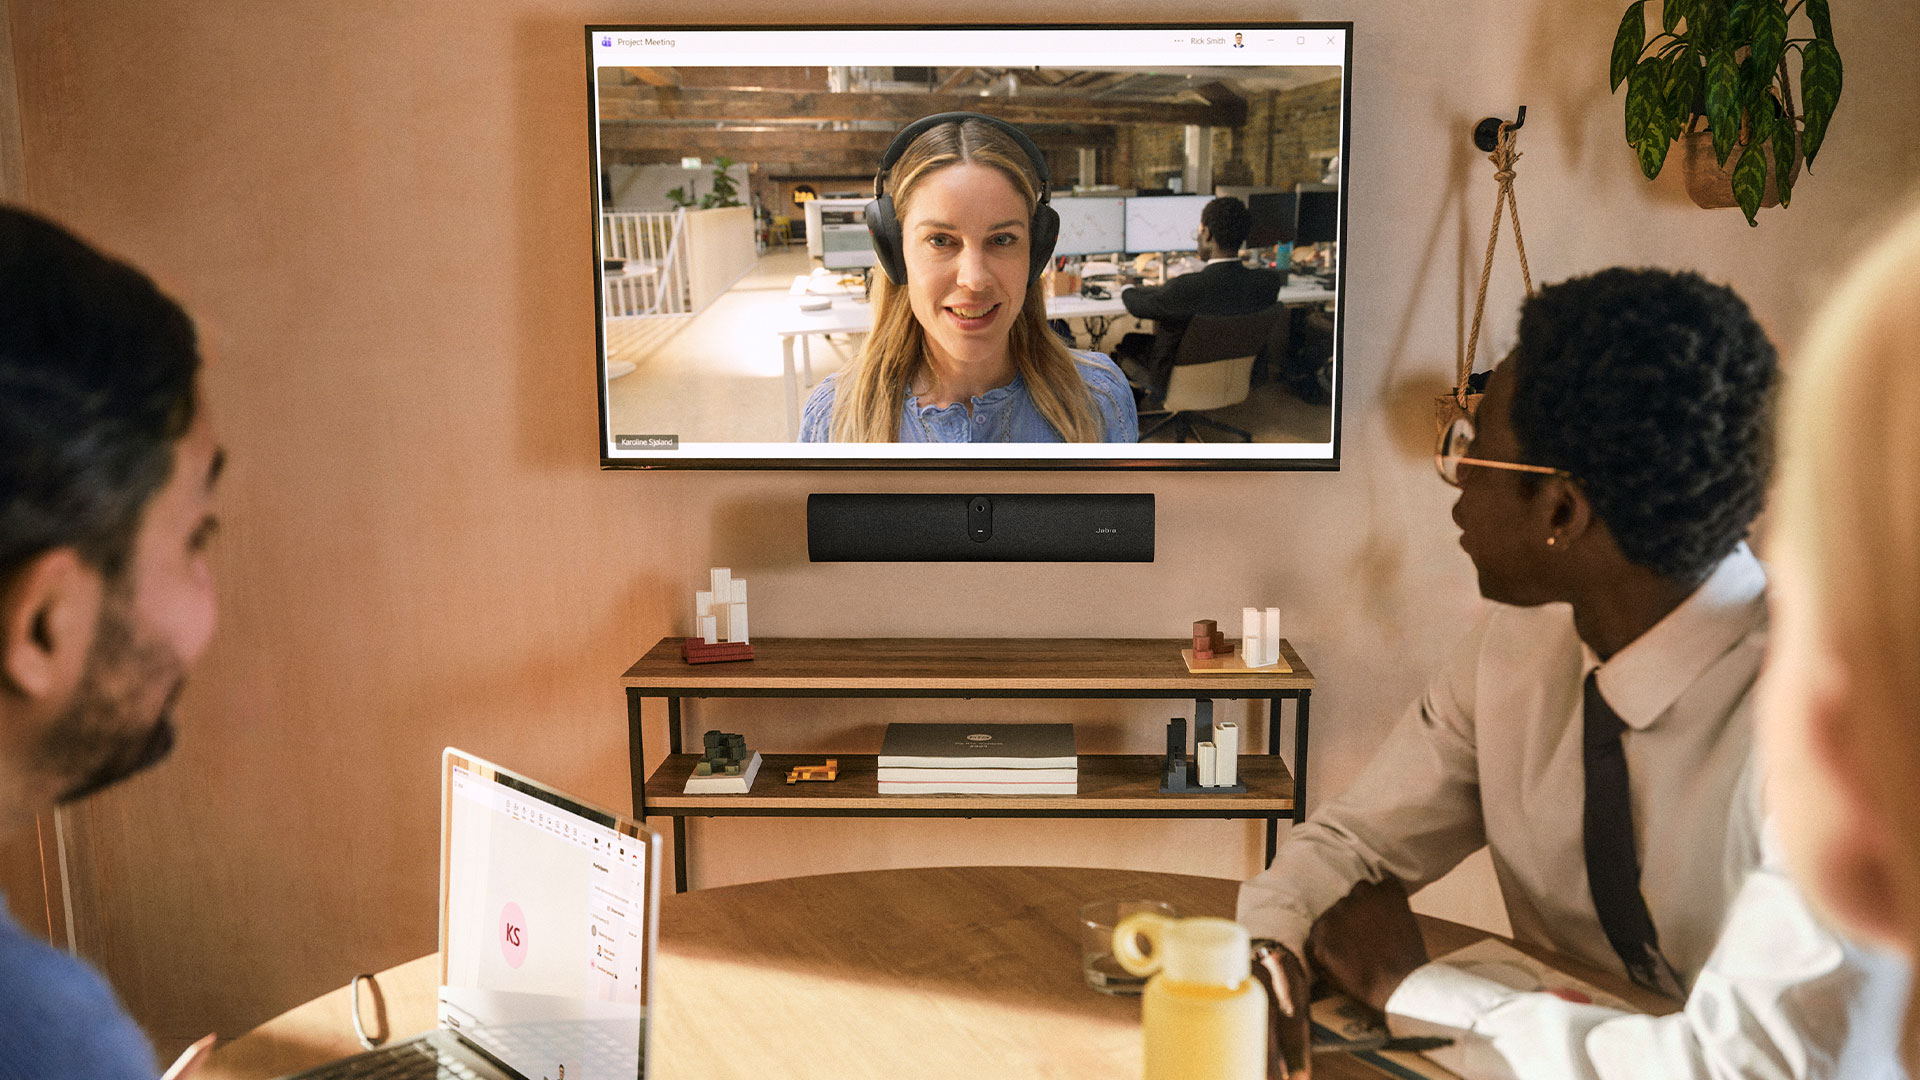
Technologie audio et vidéo spécialisée.
Pour le travail et les loisirs.

Laissez nos technologies vous changer la vie. Nos micro-casques leaders du marché, nos solutions vidéo intelligentes et nos écouteurs à la pointe de la technologie vous donnent le ton pour assurer le meilleur équilibre entre votre vie professionnelle et votre vie privée.
Le leader
mondial des
solutions audio
professionnelles
mondial des
solutions audio
professionnelles
Pour le travail
et les loisirs
et les loisirs
Plus d'infos sur
jabra.com/claims
jabra.com/claims
Plus de 80 %
des entreprises du
Fortune 500
utilisent Jabra
Fortune 500
utilisent Jabra
Source :
Données de vente Jabra
Données de vente Jabra
150 ans
Conçu au
Danemark
Danemark

Loading component...
La technologie du futur.
La technologie transforme le monde. Nous voulons qu'elle transforme le monde pour le rendre meilleur. Pour faire partie du changement, nous nous engageons à créer la technologie du futur en respectant l’environnement et les communautés.


